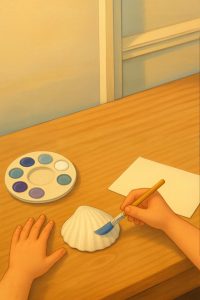
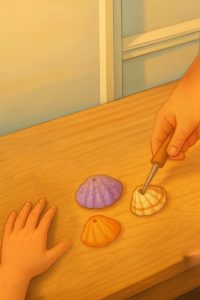
Step 1: Paint the Shell
- Put the seashell on the table with the smooth side facing down.
- Use a paintbrush to paint the top of the shell blue, white, or ocean colours like aqua or purple.
- Let it dry for 10–15 minutes.
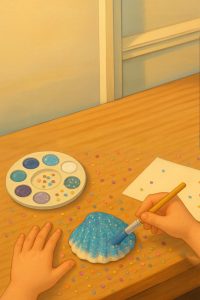
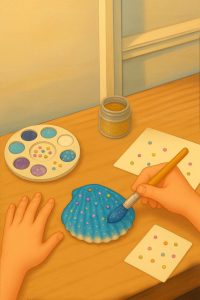
Step 2: Add Sparkles
- While the paint is still a little wet, sprinkle some glitter or confetti on the shell.
- This will make it sparkle like it’s underwater!
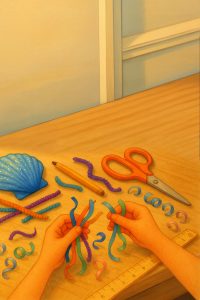
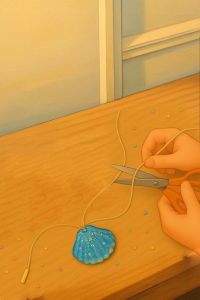
Step 3: Make the Tentacles
- Take your ribbon or pipe cleaners.
- Cut 5 to 7 pieces, each about as long as your hand.
- Curl the ribbon with scissors, or twist the pipe cleaners around a pencil to make them wavy.
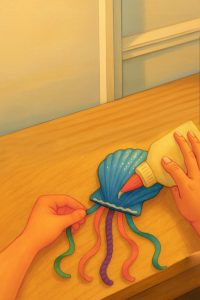
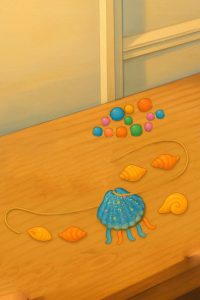
Step 4: Glue the Tentacles
- Turn the shell upside down (so the flat side is up).
- Put glue along the bottom edge of the shell.
- Stick each tentacle one by one, spreading them out like jellyfish arms.
- Let it dry for 5 minutes.
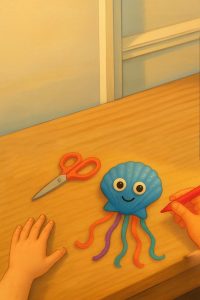
Step 5: Add the Eyes
- Turn the shell back over (curved side up).
- Use a little glue to stick the googly eyes on top.
- Use a marker or paint to add a smile if you want!
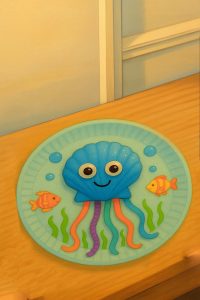
Step 6: Optional Background
- You can glue your jellyfish onto a paper plate, canvas, or coloured paper.
- Decorate the background with bubbles, seaweed, or fish using stickers or crayons.
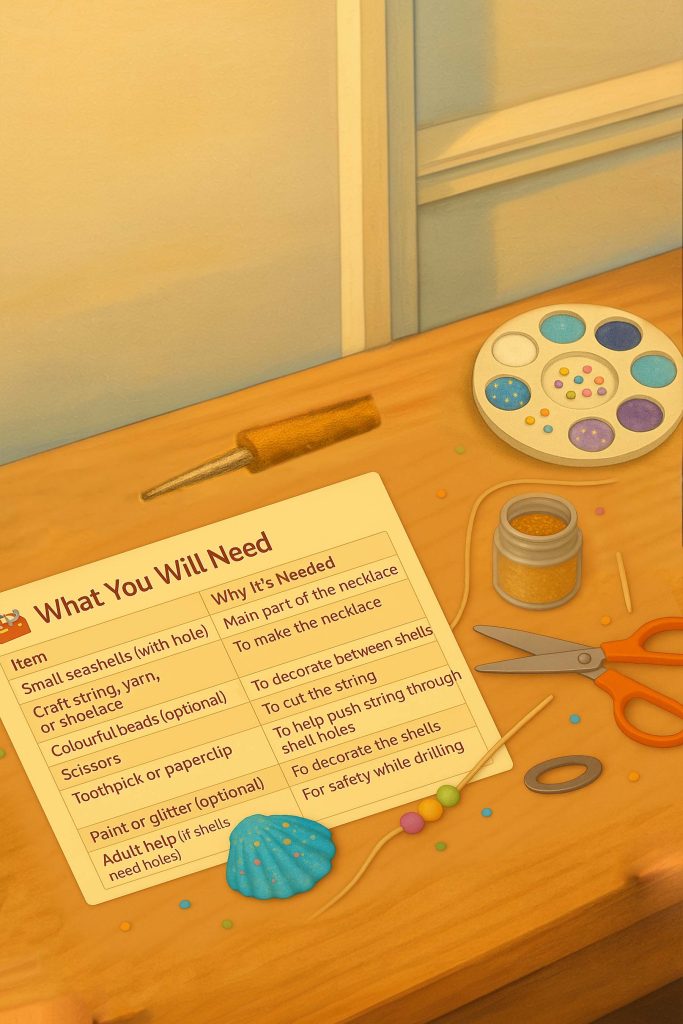
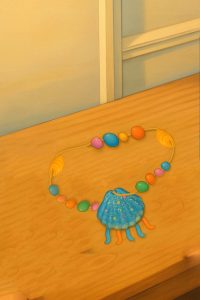
Step 1: Choose Your Seashells
- Pick 1 to 3 seashells for your necklace.
- Choose shells that already have small holes at the top (you can find them like this on the beach!).
- If the shell doesn’t have a hole, ask an adult to drill a tiny one carefully using a sharp tool.
Step 2: Decorate the Shell
- You can paint the shell with your favourite colours.
- Add glitter or stick tiny gems on it for extra sparkle.
- Let the shell dry for 10–15 minutes.
Step 3: Cut the String
- Cut a piece of string long enough to go around your neck.
- For small kids: around 18–20 inches
- For older kids or adults: 22–24 inches
- Tip: Wrap a small piece of tape around one end to make threading easier (like a shoelace).
Step 4: Plan Your Design
- Lay out the shell(s) and beads on a table to see what your necklace will look like.
- You can place beads on both sides of the shell or mix many shells and beads.

Step 5: Thread the Shell and Beads
- Push the string through the hole in the shell.
- Add beads before or after the shell as you like.
- Keep going until your design is finished!
Step 6: Tie the Ends
- Tie the two ends of the string into a strong double knot.
- Pull gently to make sure it doesn’t open.
- Ask an adult to help if needed.
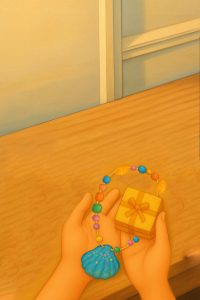
Step 7: Wear or Gift It!
- You can now wear your necklace proudly!
- Or wrap it in a box or bag to give it as a gift to family or a friend.
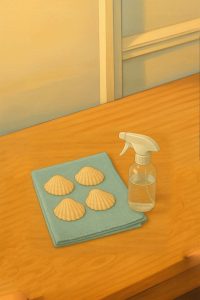
Step 1: Clean and Select Your Shells
- Choose 4 similar-sized seashells (2 for each side).
- Wash them with water and let them dry.
- Use smooth, unbroken shells with similar shape for best results.

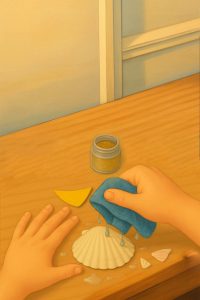
Step 2: Paint the Shells
- You can leave the shells natural for an earthy look, or paint them using bright colours.
- Let the painted shells dry completely before moving to the next step.

Step 3: Arrange the Butterfly Wings
- Place the 4 shells in a butterfly shape:
- Two shells on the left (top and bottom wing)
- Two shells on the right (top and bottom wing)
- Keep the pointy ends facing inward where they will meet the body.
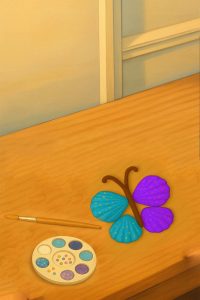
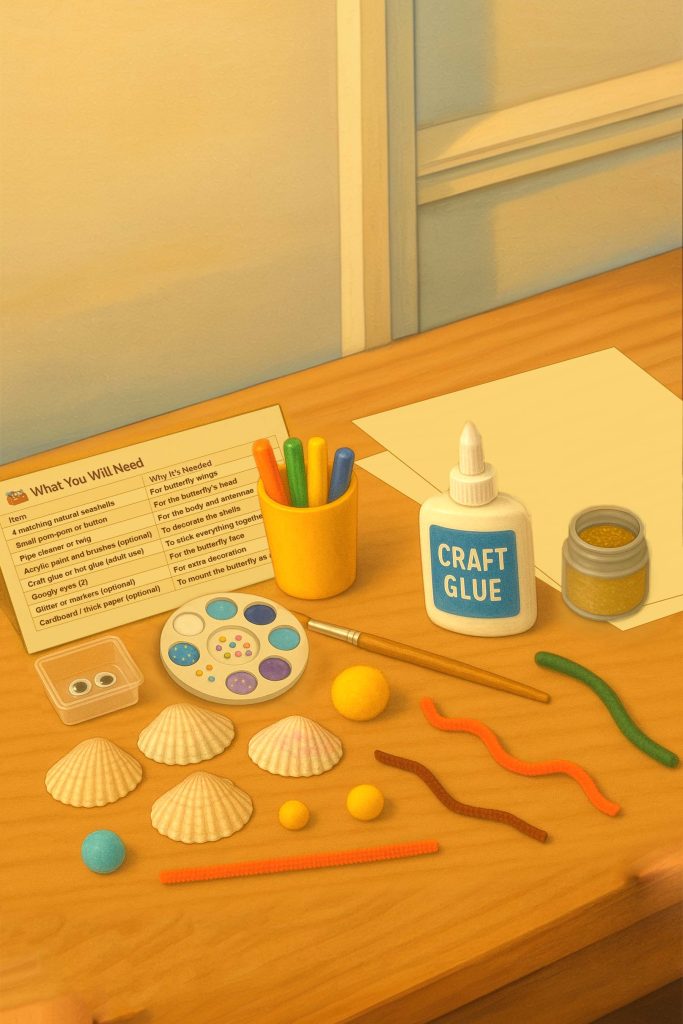
Step 4: Make the Butterfly Body
- Take a pipe cleaner or small twig.
- Bend it slightly and place it vertically in the middle of the shells (between both sides).
- The top part can be bent into two small “antennae.”
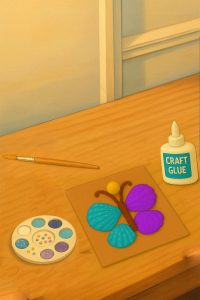
Step 5: Glue Everything Together
- Use strong craft glue (or hot glue with adult help).
- First, glue the wings in place on a paper or cardboard.
- Then glue the body over the centre where the wings meet.
- Glue a pom-pom or button on top of the body to form the butterfly’s head.

Step 6: Add the Face
- Stick googly eyes on the pom-pom or button head.
- Draw a smile or use a tiny bead for the nose if you like.
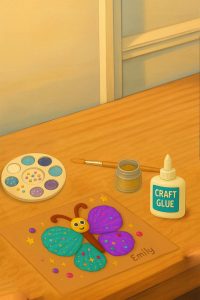
Step 7: Decorate!
- Add glitter, stickers, or small gems to the wings.
- You can even write your name or a fun message on the background.

Step 1: Select Your Seashell
- Choose a flat, round shell (like a scallop shell).
- Clean it gently with water and let it dry.
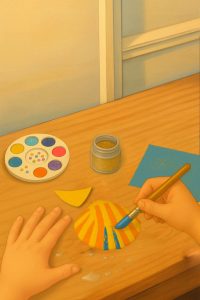
Step 2: Paint the Shell
- Use bright tropical colours: yellow, orange, blue, pink.
- Paint lines, spots, or scales.
- Let the paint dry for about 10–15 minutes.
- Optional: Add glitter or sparkly paint for extra shine.

Step 3: Add the Eye
- Glue a googly eye near the pointy part of the shell.
- If you don’t have a googly eye, draw one with a marker.
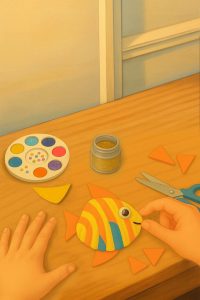
Step 4: Make the Tail and Fins
-
You can choose between two methods:
Option A: Using Other Small Shells
- Glue small shells on each side (top, bottom, and back) as fins and tail.
Option B: Using Craft Foam or Paper
- Cut triangle shapes for the top fin, side fin, and tail.
- Glue them on the back of the shell
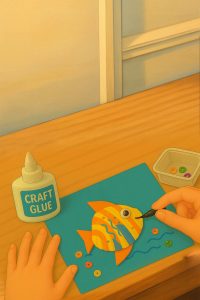
Step 5: Add Details
- Draw a smile with a black marker.
- Add sequins, dots, or wavy lines for an underwater feel.
- Optional: Stick the fish on blue cardboard to create an ocean scene.
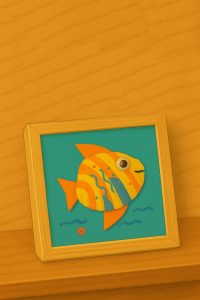
Step 6: Display or Use in Projects
- Let the glue dry completely.
- Display the shell fish on a shelf or use it in a sea-themed art project.
- You can even make a school of fish with different sizes and colours!
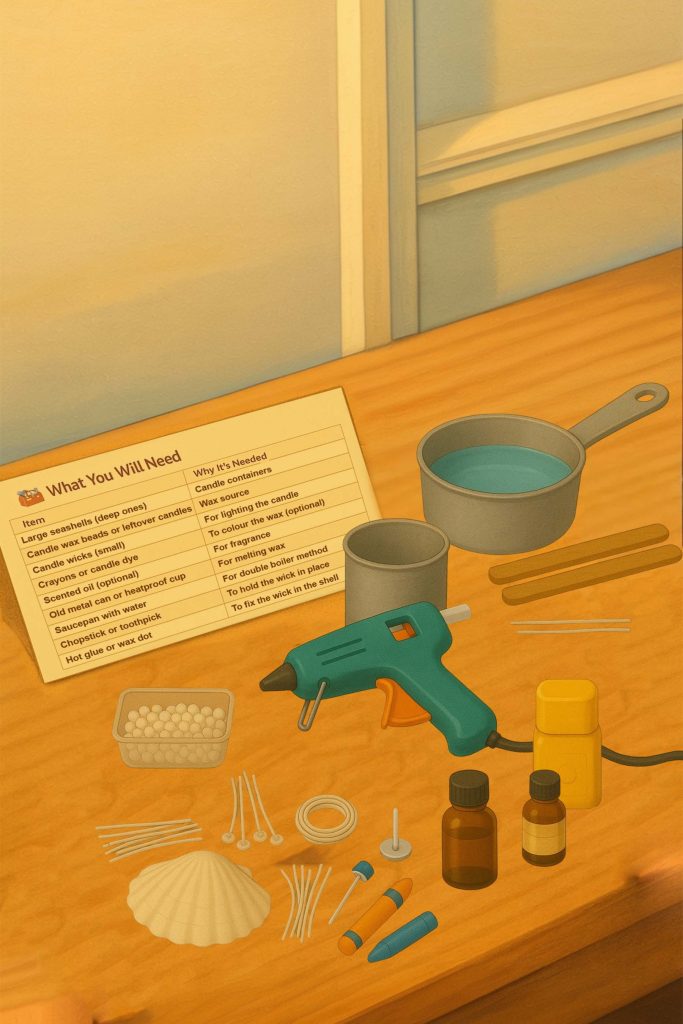
Step 1: Choose & Clean Your Shells
- Pick large, deep seashells (clam or scallop shells work best).
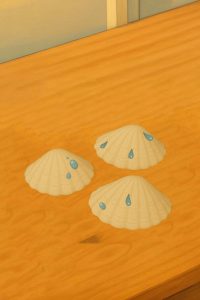
- Wash them gently and let them dry completely.
- Make sure they sit flat on a surface without tipping.
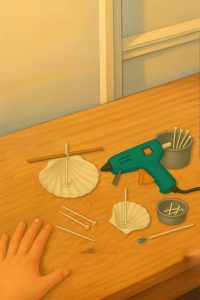
Step 2: Prepare the Wick
- Cut a small candle wick to size.
- Use hot glue or melted wax to stick the wick to the bottom center of the shell.
- Wrap the top of the wick around a toothpick/chopstick and balance it across the shell to keep it upright.
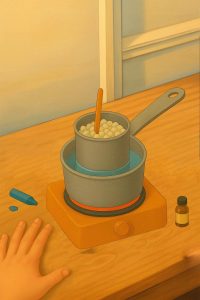
Step 3: Melt the Wax
- In a metal can or old cup, add wax beads or cut-up pieces of old candles.
- Place the can into a saucepan with water (double boiler method).
- Heat on medium until the wax is fully melted.
- Optional: Add a few crayon shavings for colour and a drop of scented oil for fragrance.
🔔 Note: Adult supervision is essential here due to hot wax and stove use.

Step 4: Pour the Wax
- Carefully pour the melted wax into the shell.
- Fill just below the rim so it doesn't overflow.
- Hold the wick straight and let it set for about 30–60 minutes.

Step 5: Trim the Wick & Decorate
- Once the wax is solid, trim the wick to about 1/2 inch.
- You can decorate the shell's outer edges with paint, glitter, or beads.
- Optional: Mount the shell on a wooden coaster or place it in a mini sand tray.